


Beta
The Neon Auth with Better Auth is in Beta. Share your feedback on Discord or via the Neon Console.
Enable Auth in your Neon project
If you don't have a Neon project yet, create one at console.neon.tech.
Go to the Auth page in your project dashboard and click Enable Neon Auth.
You can then find your Auth URL on the Configuration tab. Copy this URL - you'll need it in the next step.
Console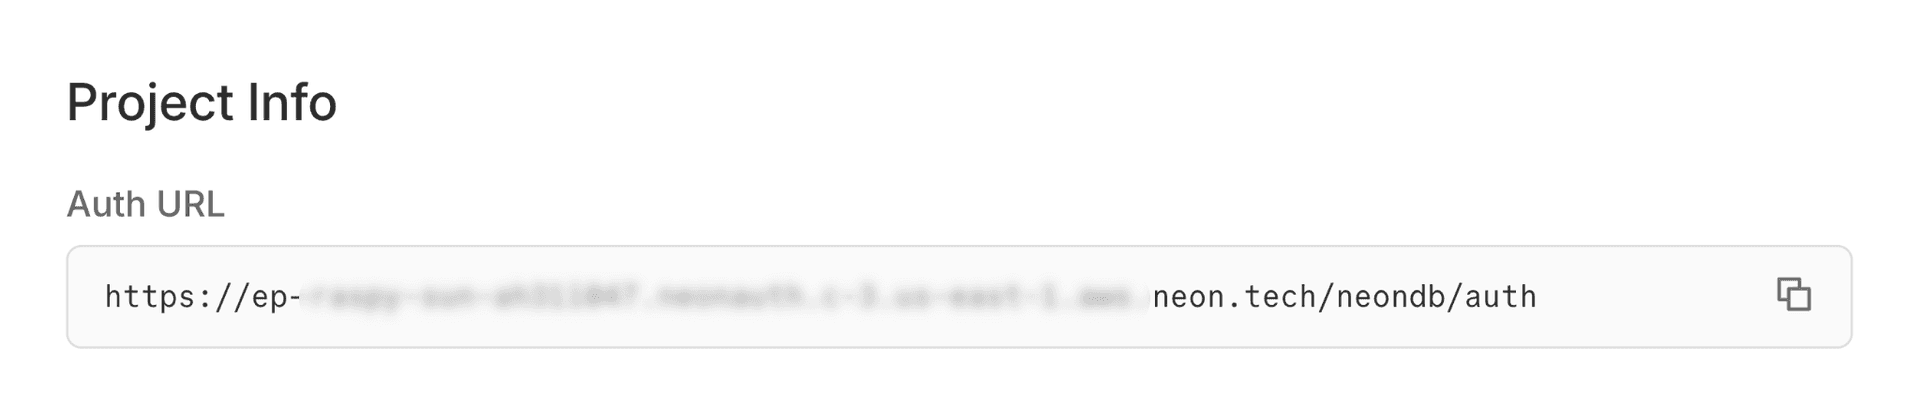
Create your React app
Create a React app using Vite with TypeScript.
Terminalnpm create vite@latest my-app -- --template react-tsInstall packages
Install the Neon SDK, UI components, and React Router:
Terminalcd my-app npm install @neondatabase/neon-js react-router-domAdd your Auth URL
Create a
.envfile in your project root and add your Auth URL:note
Replace the URL with your actual Auth URL from the Neon Console.
.envVITE_NEON_AUTH_URL=https://ep-xxx.neonauth.us-east-1.aws.neon.tech/neondb/authSet up authentication
Create a
src/auth.tsfile to configure your auth client:src/auth.tsimport { createAuthClient } from '@neondatabase/neon-js/auth'; export const authClient = createAuthClient(import.meta.env.VITE_NEON_AUTH_URL);Wrap your app with the provider
Replace the contents of
src/main.tsxto wrap your app with React Router and the auth provider. Import the Neon Auth UI CSS - no additional setup needed:Pass props to
NeonAuthUIProviderfor any features you want to use. Only theauthClientprop is required.Styling options
To learn more about applying styles to the Auth UI components, including plain CSS and Tailwind CSS v4 options, see UI Component Styles.
Example: Adding optional props
<NeonAuthUIProvider authClient={authClient} social={{ providers: ['google', 'github', 'vercel'] }} navigate={navigate} credentials={{ forgotPassword: true }} > {children} </NeonAuthUIProvider>src/main.tsximport { StrictMode } from 'react'; import { createRoot } from 'react-dom/client'; import { BrowserRouter } from 'react-router-dom'; import { NeonAuthUIProvider } from '@neondatabase/neon-js/auth/react'; import '@neondatabase/neon-js/ui/css'; import App from './App'; import { authClient } from './auth'; createRoot(document.getElementById('root')!).render( <StrictMode> <NeonAuthUIProvider authClient={authClient}> <BrowserRouter> <App /> </BrowserRouter> </NeonAuthUIProvider> </StrictMode> );Build your authentication UI
Replace the contents of
src/App.tsxwith routes for authentication and account management:- The
<AuthView>component handles navigation between sign-in and sign-up views. - The
<AccountView>component provides account-management features such as password resets and session management.
src/App.tsximport { Routes, Route, useParams } from 'react-router-dom'; import { AuthView, AccountView, SignedIn, UserButton, RedirectToSignIn, } from '@neondatabase/neon-js/auth/react'; function Home() { return ( <> <SignedIn> <div style={{ display: 'flex', flexDirection: 'column', justifyContent: 'center', alignItems: 'center', minHeight: '100vh', gap: '2rem', }} > <div style={{ textAlign: 'center' }}> <h1>Welcome!</h1> <p>You're successfully authenticated.</p> <UserButton /> </div> </div> </SignedIn> <RedirectToSignIn /> </> ); } function Auth() { const { pathname } = useParams(); return ( <div style={{ display: 'flex', justifyContent: 'center', alignItems: 'center', minHeight: '100vh', padding: '2rem 1rem', }} > <AuthView pathname={pathname} /> </div> ); } function Account() { const { pathname } = useParams(); return ( <div style={{ display: 'flex', justifyContent: 'center', alignItems: 'center', minHeight: '100vh', padding: '2rem 1rem', }} > <AccountView pathname={pathname} /> </div> ); } export default function App() { return ( <Routes> <Route path="/" element={<Home />} /> <Route path="/auth/:pathname" element={<Auth />} /> <Route path="/account/:pathname" element={<Account />} /> </Routes> ); }- The
Start your app
Start the development server, then open http://localhost:5173. You'll be redirected to the sign-in page where you can sign up or sign in.
Terminalnpm run devSee your users in the database
As users sign up, their profiles are synced to your Neon database in the
neon_auth.usertable.Query your users table in the SQL Editor to see your new users:
SQL EditorSELECT * FROM neon_auth.user;